

How to set up Doppler's CLI on Windows 10

I am a software engineer passionate about building fast, scalable apps with beautiful user interfaces.
Summary
This article is about setting up Doppler’s Command Line Interface (CLI) on a Windows 10 Personal Computer (PC). You will install Scoop package manager, use Scoop to get the repo for Doppler’s CLI, then install the CLI binaries on your PC. You will then log into Doppler through its CLI, and configure Doppler for a project.
Goals
By following this article you will learn about Scoop package manager and how to install software packages like Doppler CLI on Windows 10 with it. You will also learn how to set up and configure Doppler for a project through its CLI.
Prerequisites
This article assumes you have some familiarity with Doppler and what it does. You can quickly find out here. You will also need the following:
- A PC with Windows 10 operating system
- Windows PowerShell 5 or later
- .NET Framework 4.5 or later
- A Doppler account. Create one here
- Windows Terminal app (optional)
What is Doppler’s CLI?
Doppler’s CLI is a lightweight binary provided by Doppler. It provides access to your secrets in any new environment, from local development to production. It works on almost all operating systems.
What is Scoop package manager?
Scoop is a third-party package manager for Windows 10 similar to Chocolatey or Homebrew. It aims to eliminate things like the need to find and install dependencies, following extra setup steps to get working software, or unexpected side-effects from installing and uninstalling programs.
Install Scoop package manager
On your PC, open Windows PowerShell and type in the following command:
Set-ExecutionPolicy -ExecutionPolicy RemoteSigned -Scope CurrentUser
In the prompt that appears, type A to accept all changes to execution policy.

Then run the command:
iwr -useb get.scoop.sh | iex
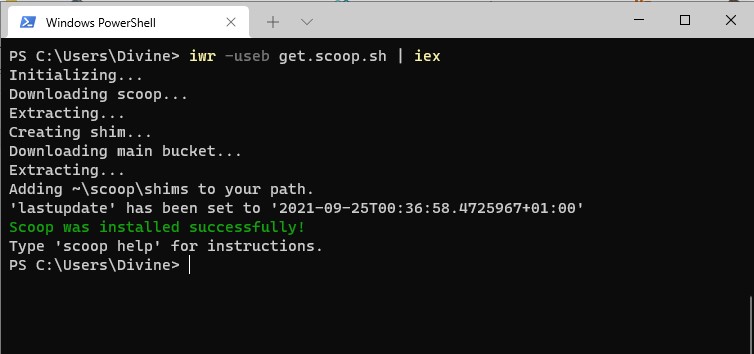
Verify your installation of Scoop by running the command below:
scoop help
Install Doppler CLI using Scoop
In your terminal, add Doppler’s scoop repo by running the command below:
scoop bucket add doppler https://github.com/DopplerHQ/scoop-doppler.git
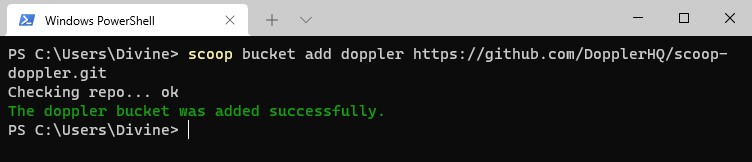
Next, install Doppler by running the command:
scoop install doppler
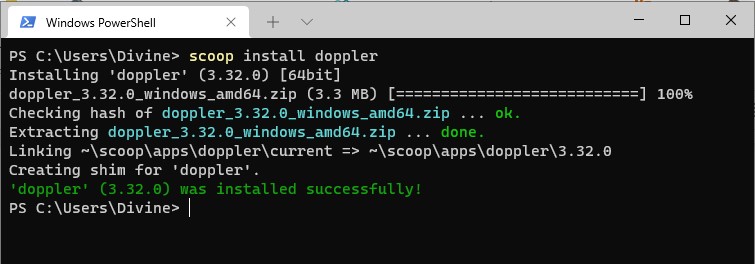
Verify your installation of Doppler by running the command:
doppler --version
Log into Doppler
In your terminal, run the command below:
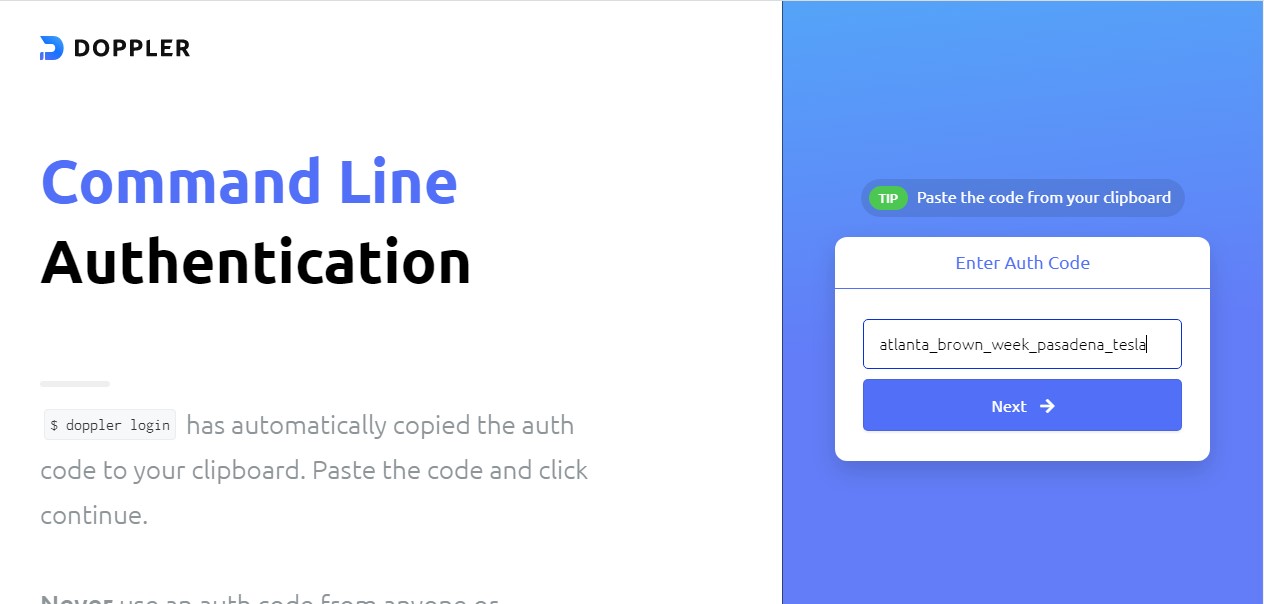
doppler login
When you grant the CLI permission to open your browser, it will automatically create and copy an auth code, and open a browser window for authentication. Paste the auth code, then click on “Next”
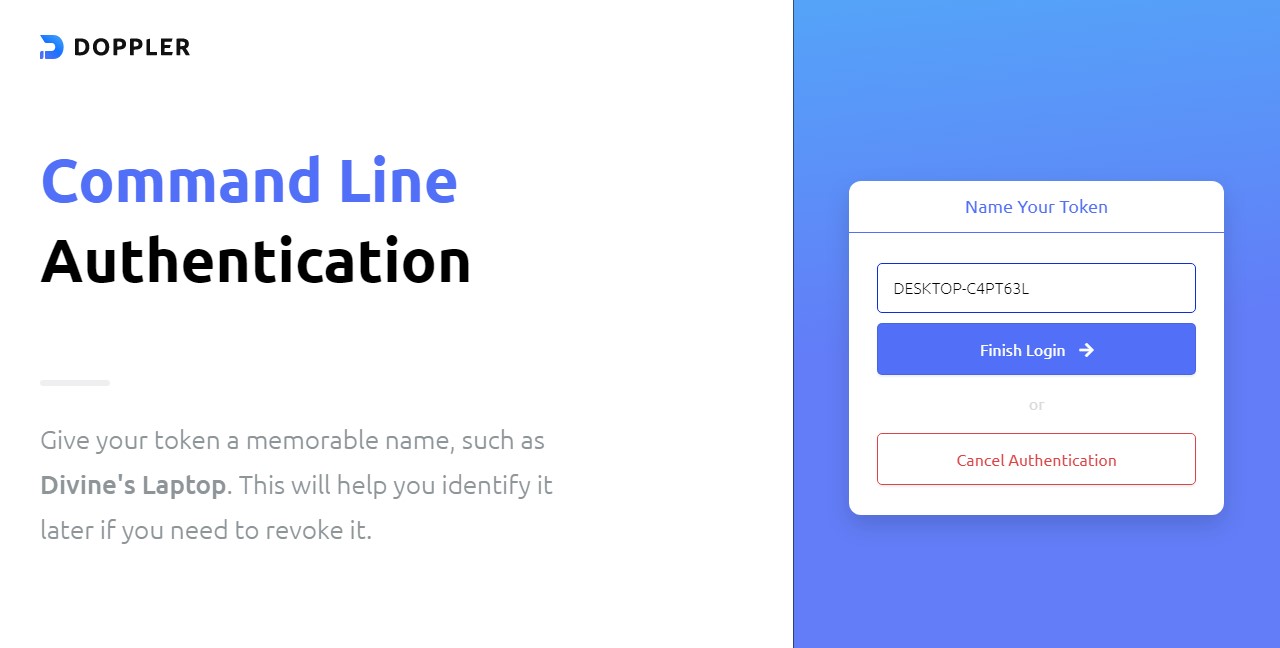
In the next window, choose a memorable name for your auth token, then click “Finish Login”
Create a project
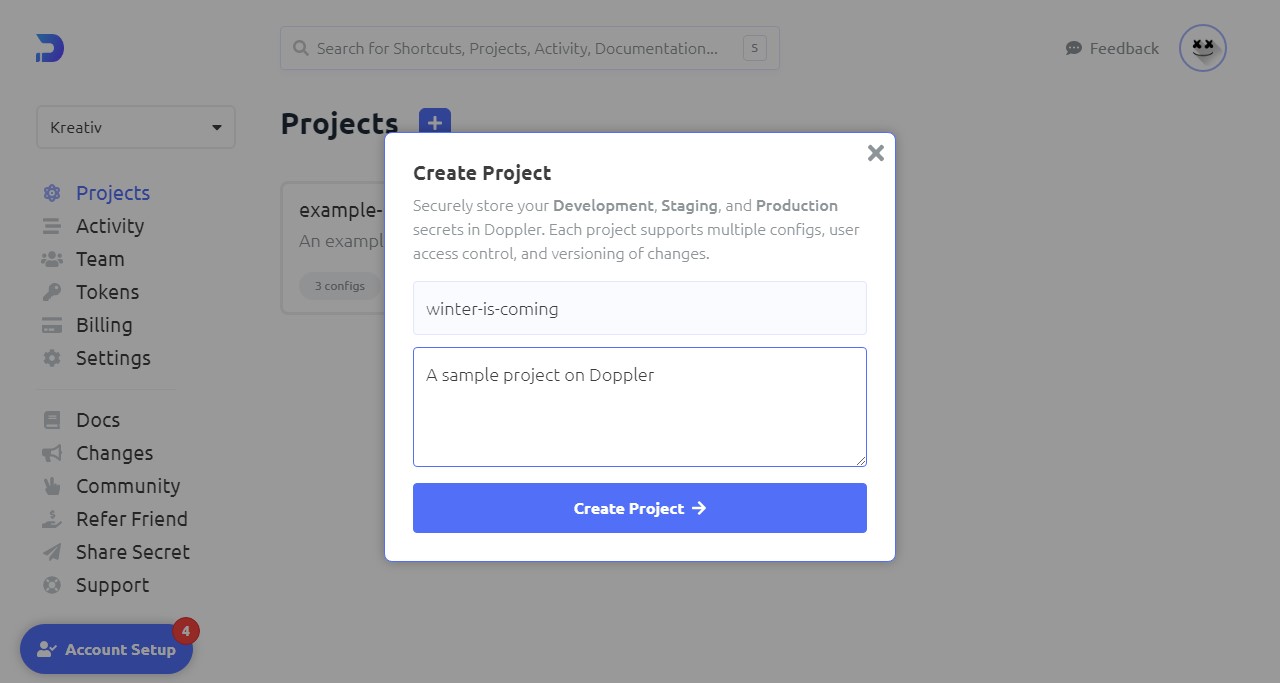
In your browser, log into your Doppler dashboard and click the “+” icon to create a new project.
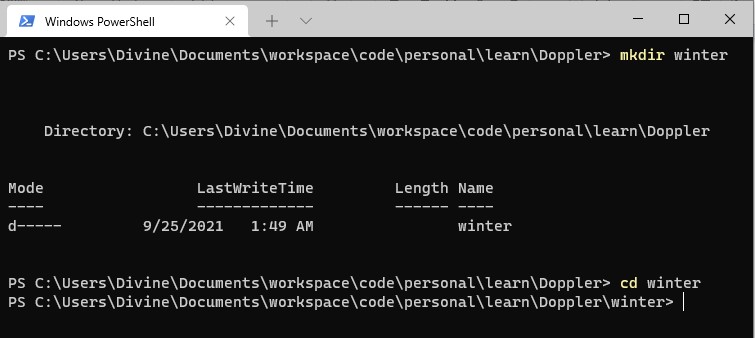
In your PC terminal, create your project folder or navigate to an existing project folder:
Configure Doppler for project
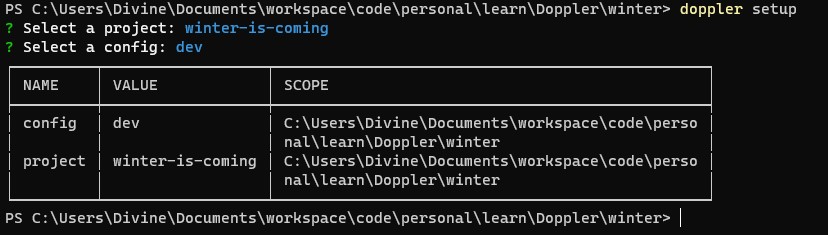
In your terminal, run the command below to setup Doppler in your project’s root directory:
doppler setup
Select your project from Doppler:

Select a config environment:

Done!
Summary
In this article, we explored how to set up Doppler’s CLI on a Windows 10 PC. You can continue the development process by adding your secrets to Doppler through the dashboard, deleting the .env file in your project, or integrating with any platforms of your choice.
Resources
- Scoop package manager’s GitHub repo
- Doppler Docs - Create a project


